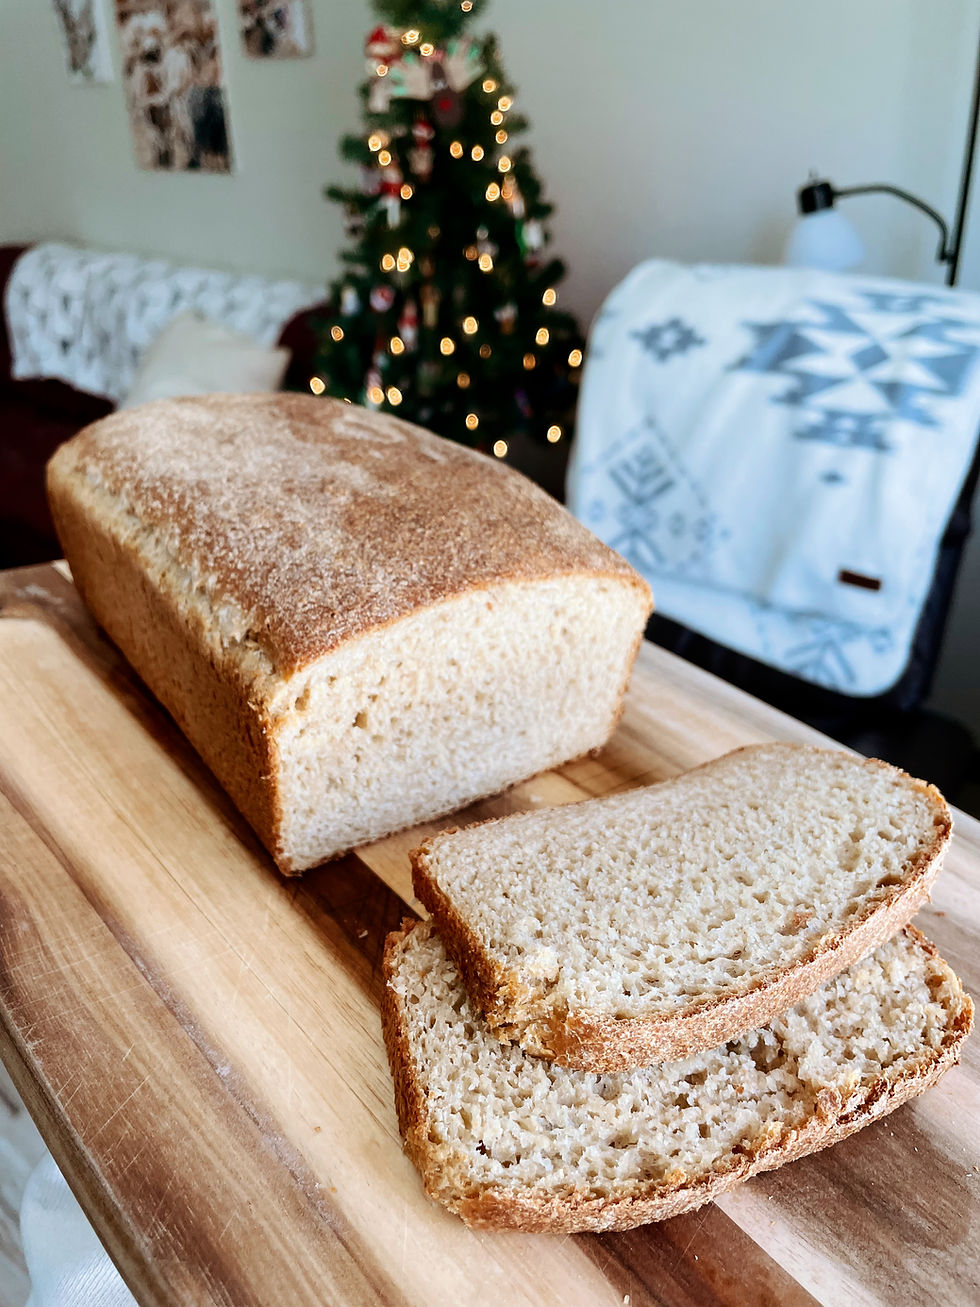
Sourdough Sandwich Bread with Freshly Milled Whole Wheat Flour 🌾✨
- thehoneybuckle

- Jan 24, 2025
- 3 min read
Updated: Feb 20, 2025

This Sourdough Sandwich Bread with Freshly Milled Whole Wheat Flour packs in flavor, texture, and nutrition! 🍞👊🏼
Check out the video on my Instagram for a visual of this beautiful bread in the making!
I highly recommend investing in a kitchen scale to measure your ingredients - especially when it comes to whole wheat flour and sourdough! Plus, you'll have less measuring cups to clean.
I spent too much time baking sourdough before I realized how nutritious it could be with freshly milled flour that is completely unrefined and contains 40 of the 44 essential nutrients, including:
The Germ: Contains essential fatty acids, antioxidants, B vitamins, vitamin E, minerals, and poly nutrients.
The Bran: Provides soluble and insoluble fiber, iron, B vitamins, and phytonutrients.
The Endosperm: Contains complex carbs and protein.
And it is so easy to make your own flour! My flour mill grinds wheat berries like a boss. It takes less than 30 seconds to make enough for this loaf. I use a NutriMill high speed electric grain mill with stainless steel milling heads, and hard white wheat berries.
Ingredients:
210g active sourdough starter (white flour or whole wheat starter)
425g freshly milled hard white wheat
2.5 tbsp honey or maple syrup
1.5 tsp salt
1 cup water
1 tbsp avocado or olive oil
1 egg
Instructions:
1. Mixing the Dough:
In a large bowl, combine all the ingredients and mix well.
Once the dough begins to thicken, transition to kneading.
Knead the dough until it becomes stretchy and elastic, approximately 15-20 minutes by hand or 10 minutes with a mixer.
Tip: Use the “window pane” test to check if the dough is ready; it should stretch without breaking immediately.
2. Bulk Fermentation:
Lightly oil the bottom of a medium-sized bowl and transfer the dough into it.
Cover the bowl tightly with a lid or plastic wrap.
Let the dough rise for about 5 hours at room temperature if your kitchen is above 72°F, or place it in the oven with the light on for about 3 hours if your kitchen is cooler.
After the initial rise, place the dough in the fridge for 12 hours or overnight.
3. Shaping the Loaf:
On a clean counter, flatten the dough into a rectangle, using a little flour or oil if the dough is sticky.
Perform an envelope fold on the rectangle, then roll it from the bottom up like a tight log, tucking the edges inward.
Place the shaped dough seam-side down into a bread pan.
4. Second Rise:
Preheat your oven to 100°F to help cut the rise time in half.
Allow the loaf to rise in the oven until it reaches the top of the pan, approximately 2 hours.
Preheat the oven to 400°F and bake the loaf for 10-12 minutes.
Then, reduce the temperature to 350°F and bake for an additional 30 minutes, or until a food thermometer reads 200°F.
Once baked, cool the bread for 30 minutes before transferring to a cooling rack to finish cooling.
Slice once cooled and enjoy!
Storage:
For immediate use: Store the bread for up to 5 days on the counter.
For long-term use: Store slices in a large Ziploc bag and freeze for up to 6 months.
Why You'll Love This Sourdough Sandwich Bread with Freshly Milled Whole Wheat Flour:
Nutritious and Wholesome: Made with freshly milled wheat and no artificial ingredients, this bread is as healthy as it gets.
Deliciously Flavorful: The combination of honey or maple syrup with the sourdough starter creates a rich and satisfying taste.
Perfect Texture: The stretch and elasticity of the dough result in a soft yet hearty loaf.
Versatile: Ideal for sandwiches, toast, or enjoying on its own with a spread of butter.
Making your own sourdough sandwich bread at home is not only rewarding but also allows you to enjoy the freshest and most delicious bread possible. This recipe is perfect for both beginners and experienced bakers alike.


Comments